
Settings
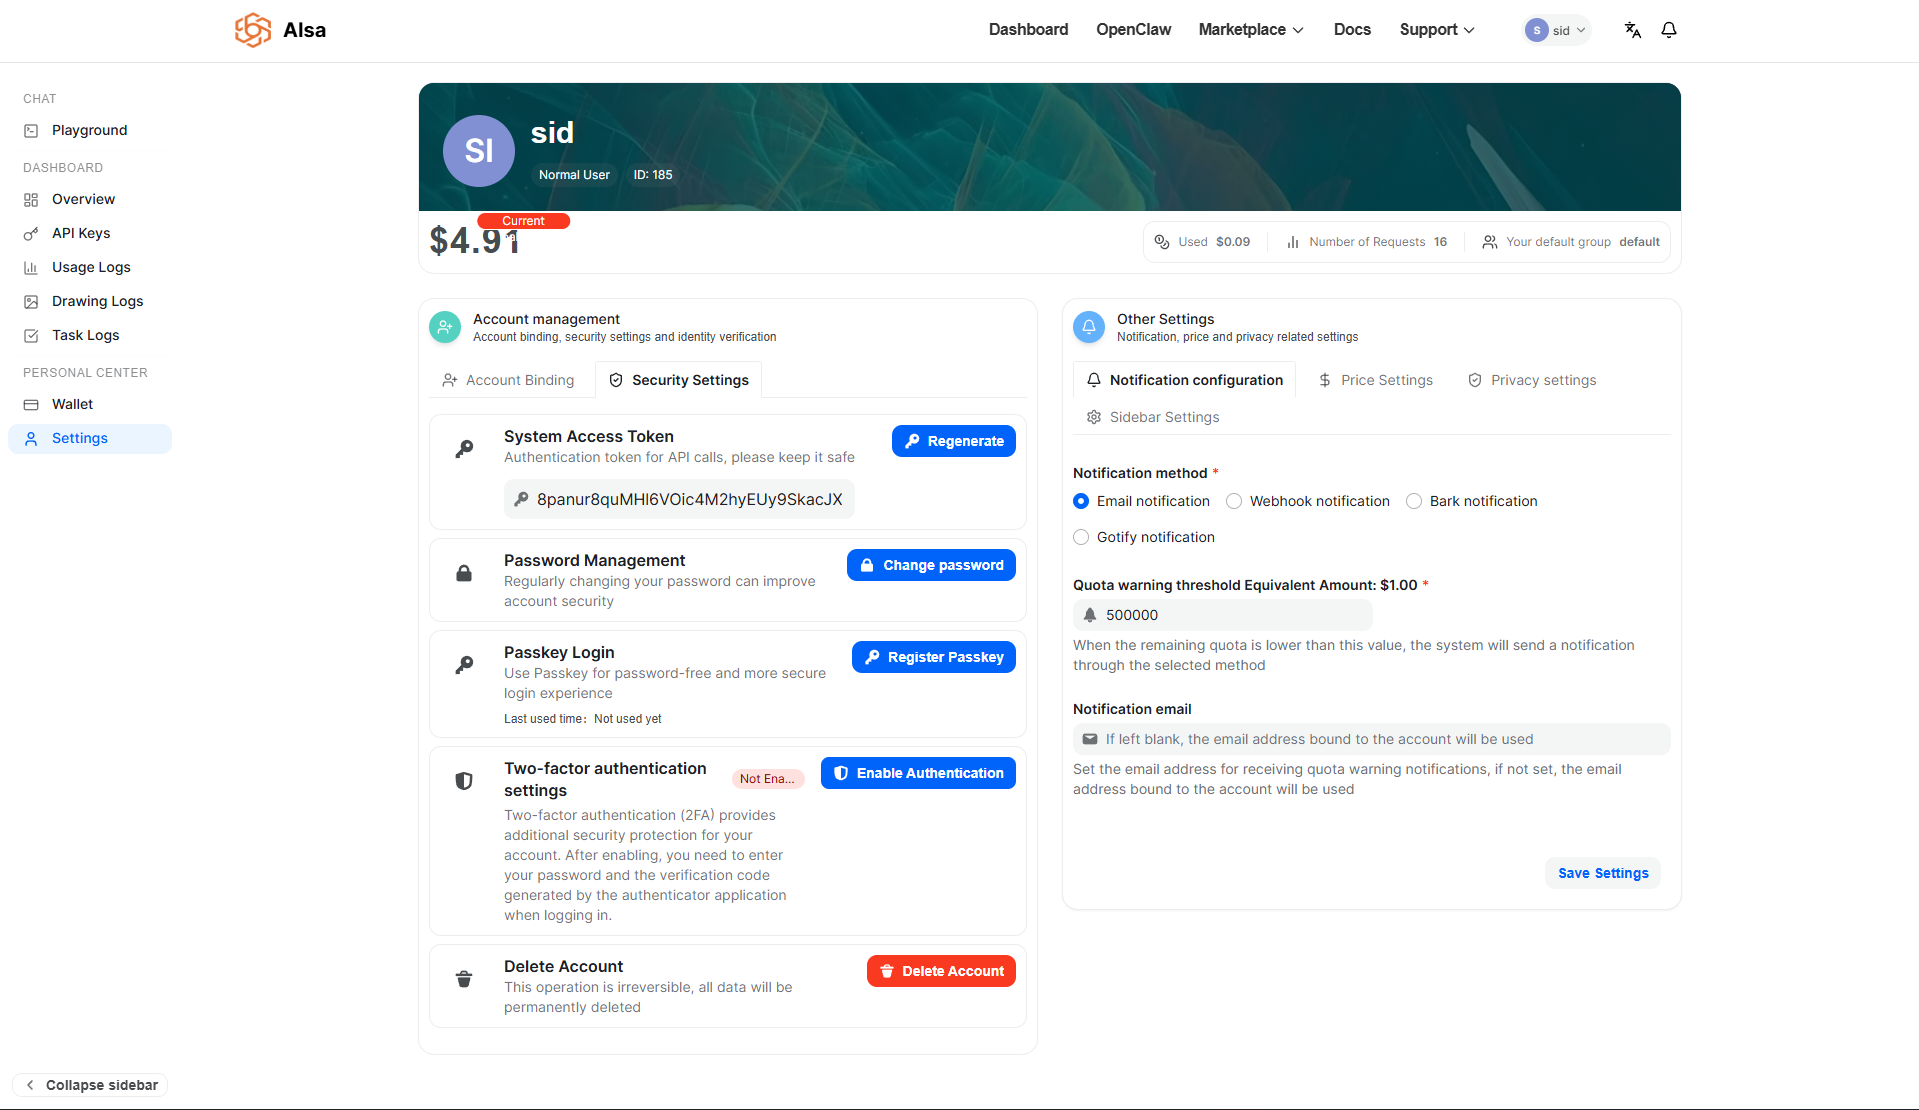
The Settings page centralizes all account-level configuration, including authentication methods, security controls, notification rules, pricing safeguards, privacy behavior, and interface customization.
This page is divided into two primary areas:
- Account Management: identity, credentials, and authentication
- Other Settings: operational, pricing, privacy, and UI controls
These controls directly affect how your account authenticates, how usage is billed and monitored, and how the dashboard behaves.
Account Management
The Account Management section governs authentication credentials and account-level security.
Account Binding
The Account Binding panel allows external identity providers (such as GitHub or OIDC providers) to be linked to your account for federated authentication.
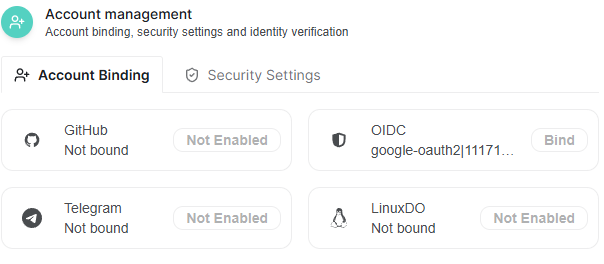
Currently, account bindings can be disabled by the administrator. When enabled, this section allows you to bind supported providers to simplify login and identity verification workflows.
Security Settings
The Security Settings tab contains all mechanisms related to authentication, credential management, and account protection.
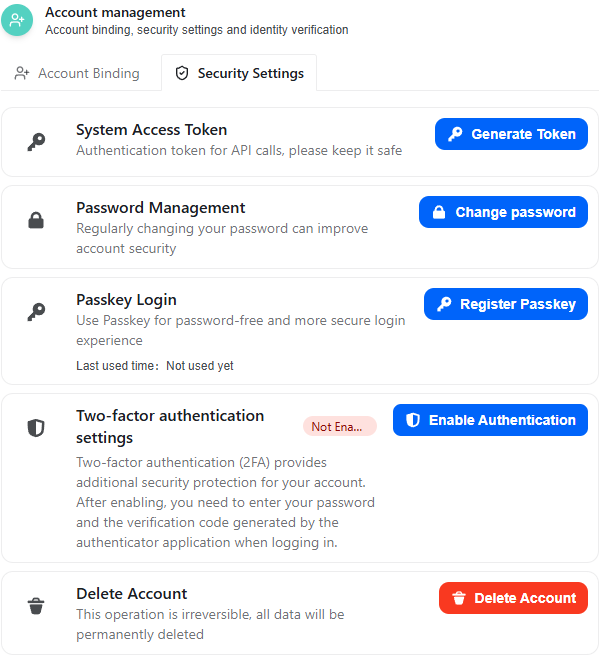
System Access Token
The System Access Token is an authentication credential used for privileged or internal API calls that require user-level authorization.
Key characteristics:
- Functions as a bearer token.
- Grants access to API endpoints associated with your account.
- Must be stored securely.
- Should never be exposed in client-side code or public repositories.
If compromised, generate a new token immediately. Generating a new token invalidates the previous one.
Password Management
The Change Password modal requires:
- Original password
- New password
- Confirmation of new password
The system validates that:
- The original password matches the current credentials.
- The new password and confirmation match.
Password updates take effect immediately after confirmation.
It is recommended to periodically rotate credentials and avoid reusing passwords across services.
Passkey Login
Passkey Login enables passwordless authentication using device-based cryptographic credentials (WebAuthn).
However, if you encounter the error:
Administrator has not enabled Passkey login
this means passkey authentication is controlled at the administrator level and must be enabled globally before individual users can register a passkey.
When enabled by the administrator:
- You can register a passkey tied to your device.
- Authentication will rely on secure hardware-backed credentials rather than passwords.
- This reduces phishing risk and credential exposure.
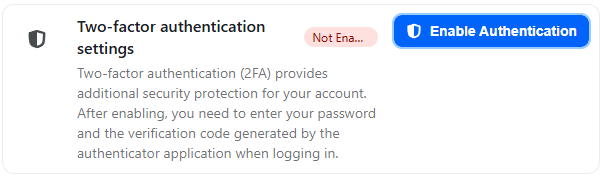
Two-Factor Authentication (2FA)
Two-Factor Authentication adds a second verification factor during login. Once enabled, logging in requires both your password and a time-based one-time password (TOTP).
The setup process consists of three structured steps.
Step 1: Scan QR Code
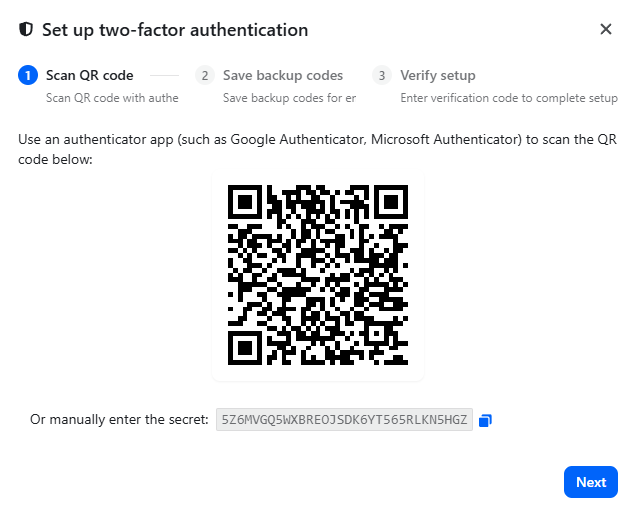
When enabling 2FA, the system generates:
- A QR code
- A manual secret key (for manual entry)
You must:
- Open a compatible authenticator application (such as Google Authenticator or Microsoft Authenticator).
- Scan the displayed QR code.
If scanning is not possible, manually enter the provided secret key into your authenticator app.
This secret key generates a rotating 6-digit TOTP code every 30 seconds.
After scanning or entering the key, proceed to the next step.
Step 2: Save Backup Recovery Codes
The system then generates multiple backup recovery codes.
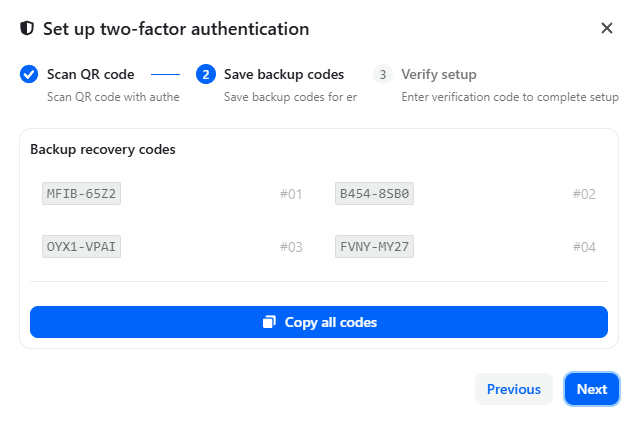
These codes:
- Allow account access if you lose access to your authenticator device.
- Can each be used once.
- Should be stored securely offline.
You may copy all codes at once using the provided button.
Failure to store these codes may result in permanent loss of access if the authenticator device is lost.
Step 3: Verify Setup
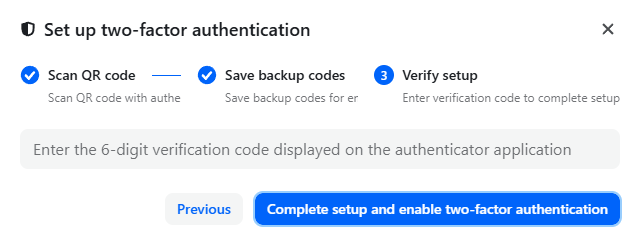
To complete activation:
- Enter the current 6-digit verification code displayed in your authenticator app.
- Click Complete setup and enable two-factor authentication.
If the code is valid, 2FA becomes active immediately.
From this point forward, login requires:
- Account password
- Current 6-digit authenticator code
Delete Account
The Delete Account action permanently removes your account and associated data.

The confirmation process requires:
- Entering your username to verify intent.
- Clicking Confirm.
Important considerations:
- All stored data will be permanently deleted.
- API keys, tokens, and billing history will be removed.
- The operation cannot be reversed.
Ensure all necessary data has been exported before proceeding.
Other Settings
The Other Settings section governs operational controls, cost safeguards, and dashboard behavior.
Notification Configuration
Notification settings allow you to define how the system alerts you when your remaining quota reaches a specified threshold.
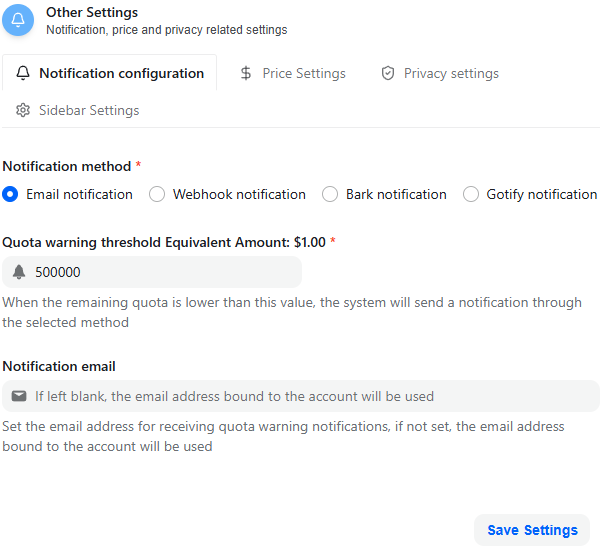
Supported notification channels:
- Webhook
- Bark
- Gotify
Quota Warning Threshold
You can define a quota warning threshold expressed as an equivalent USD amount.
For example:
- If set to $1.00, the system sends a notification when remaining quota falls below that value.
If no custom notification email is specified, the system uses the email bound to your account.
This configuration helps prevent unexpected service interruption due to depleted balance.
Price Settings
The Price Settings tab includes a safeguard related to model execution.
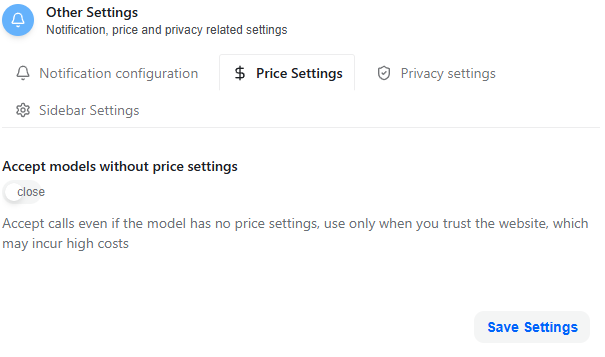
Accept Models Without Price Settings
When disabled (recommended default):
- API calls to models without defined pricing rules are blocked.
When enabled:
- Calls to models without configured pricing are allowed.
- This may result in unpredictable costs if the model has dynamic or external pricing.
This setting should only be enabled when you fully understand the billing implications.
Privacy Settings
The Privacy Settings tab controls whether client IP addresses are recorded in logs.
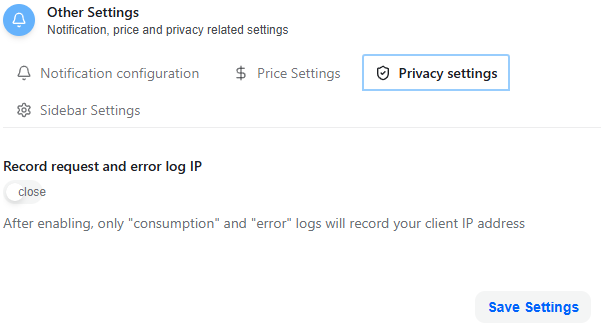
Record Request and Error Log IP
When enabled:
- Consumption logs record the client IP.
- Error logs record the client IP.
This assists with:
- Security auditing
- Debugging
- Investigating suspicious activity
When disabled:
- IP addresses are not stored in those logs.
This setting balances observability with privacy considerations.
Sidebar Settings
Sidebar Settings allow customization of visible modules in the interface.
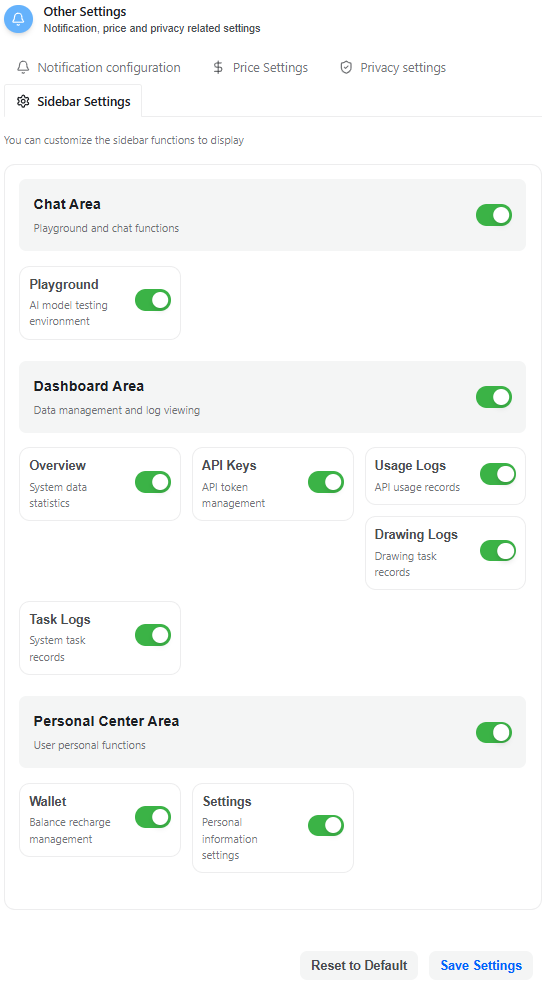
You can enable or disable entire sections:
Chat Area
- Playground (AI model testing environment)
Dashboard Area
- Overview
- API Keys
- Usage Logs
- Drawing Logs
- Task Logs
Personal Center Area
- Wallet
- Settings
These toggles control UI visibility only and do not disable underlying functionality or permissions.
Changes apply after clicking Save Settings, and you may restore the default layout using Reset to Default.
Operational Recommendations
To maintain a secure and stable environment:
- Enable Two-Factor Authentication.
- Store backup recovery codes offline.
- Keep the System Access Token confidential.
- Configure quota warnings to avoid service disruption.
- Carefully review pricing safeguards before enabling models without price settings.
The Settings page consolidates all account-level operational controls, ensuring security, cost awareness, and interface flexibility are managed in one location.
Updated 14 days ago