Getting Started with AIsa
This guide walks you through creating your first request with AIsa using the Unified Model Gateway. By the end, you’ll be able to call multiple LLM providers through a single API with OpenAI-compatible tooling.
What You Need Before You Start
To get started with AIsa, you’ll need:
- An AIsa account
- An API key
- A basic understanding of OpenAI-style Chat Completions APIs
New accounts receive $5 in free credits, which can be used immediately in the API Playground or via the REST API.
Step 1: Create an Account & Get an API Key
-
Sign up at aisa.one:
You can sign up with:
- Google Oauth
- GitHub Oauth
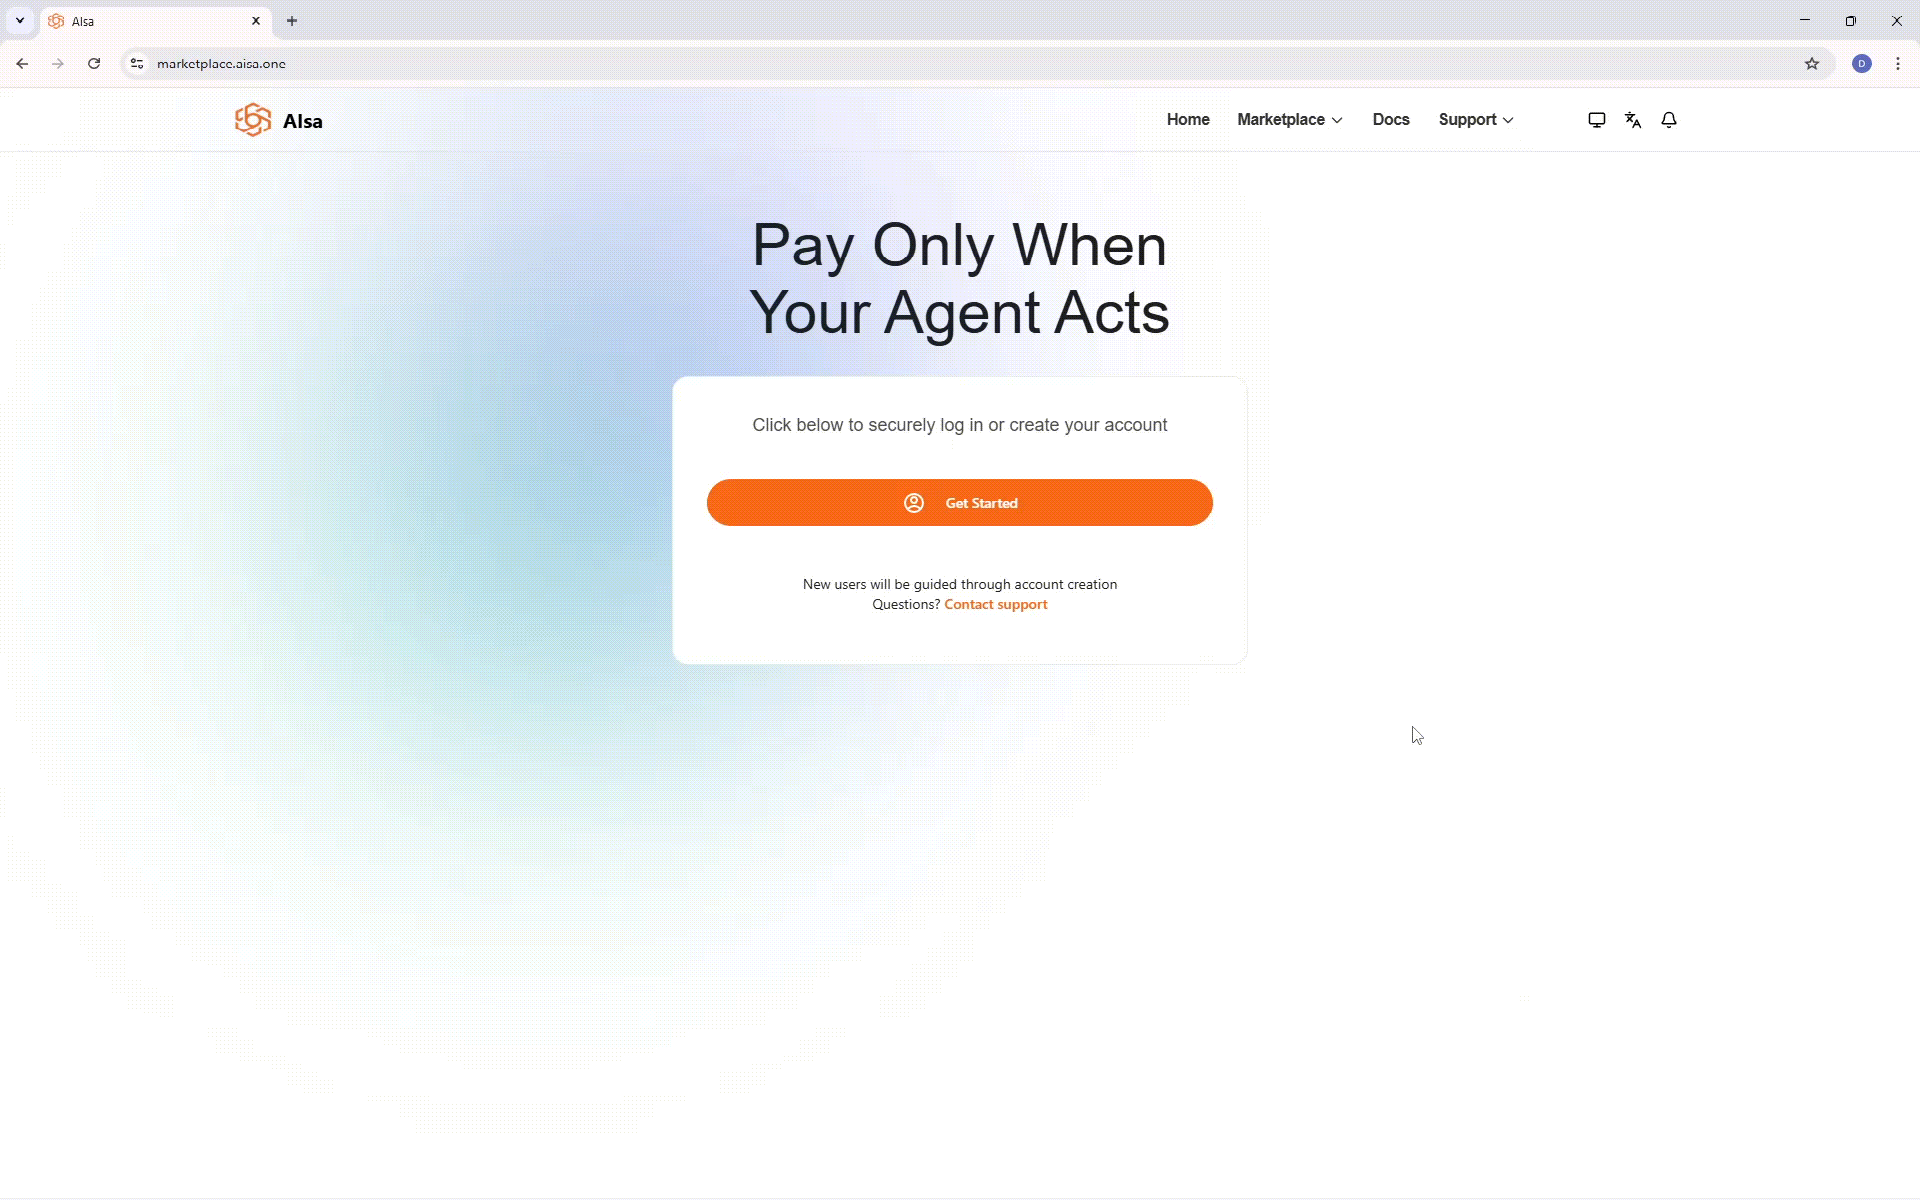
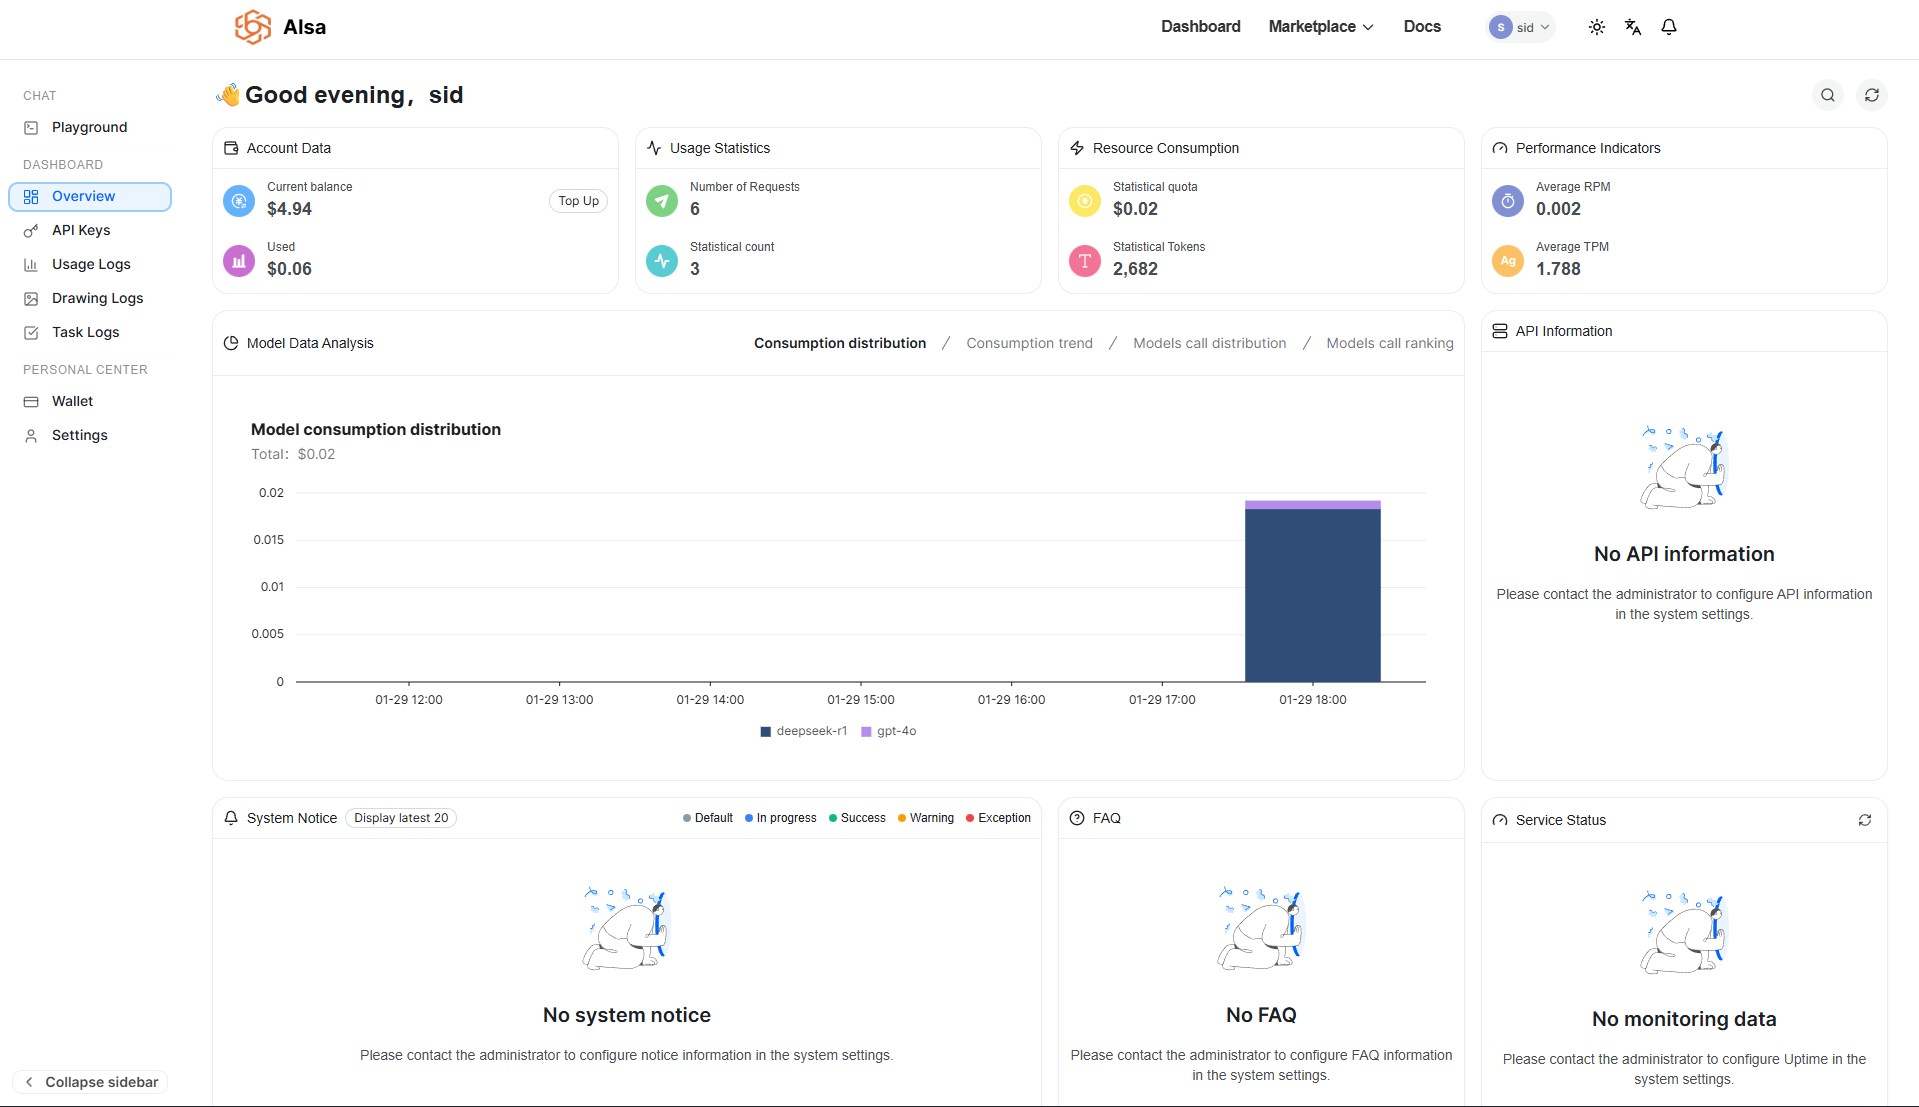
- Once registered, you will be redirected to the dashboard.
- Generate an API key from the API Keys section
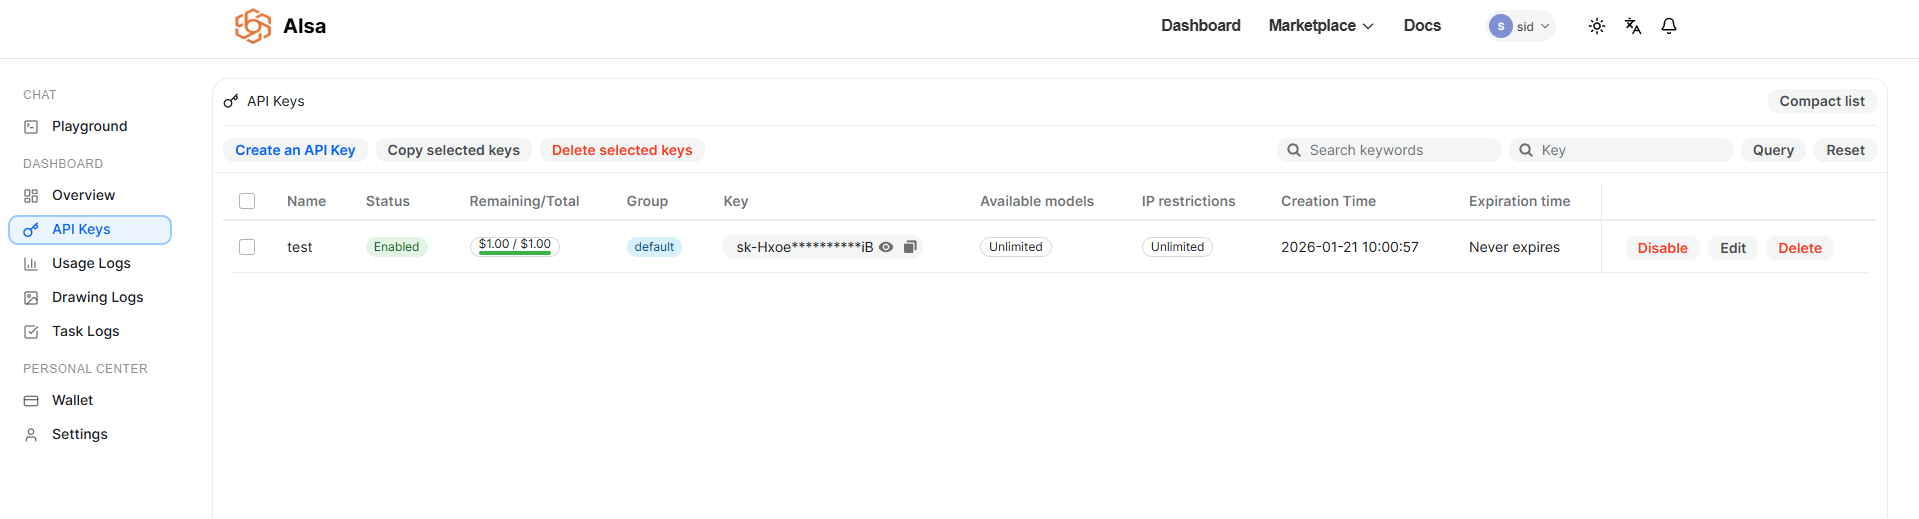
Your API key authenticates all requests and is tied to your usage and billing. Keep it secure and do not expose it in client-side code.
Step 2: Understand the Unified Model Gateway
AIsa exposes a single API endpoint that routes requests to multiple providers and models.
Key characteristics:
- One base URL for all models
- Consistent request and response schema
- OpenAI-compatible APIs
- Provider-agnostic usage tracking and billing
This allows you to switch models without rewriting application logic or SDK integrations.
Supported Model Families
AIsa currently supports 70+ models across text, image, vision, audio, and multimodal use cases.
| Model Family | Provider |
|---|---|
| GPT | OpenAI |
| Claude | Anthropic |
| Gemini | |
| Qwen | Alibaba |
| DeepSeek | DeepSeek |
| Grok | xAI |
Models are selected at request time. No provider-specific SDKs are required.
Step 3: Make Your First API Call
AIsa is fully compatible with OpenAI’s Chat Completions API. You only need to change:
base_urlapi_keymodel
Example: Chat Completion (REST)
curl --request POST \
  --url https://api.aisa.one/v1/chat/completions \
  --header 'Authorization: Bearer <token>' \
  --header 'Content-Type: application/json' \
  --data '
{
  "model": "gpt-4.1",
  "messages": [
    {
      "role": "user",
      "content": "Explain what an AI gateway is in one sentence."
    }
  ],
  "stream": false,
  "logprobs": true,
  "top_logprobs": 123
}'
The response format matches OpenAI’s schema, including choices, message, and token usage.
Step 4: Use Existing OpenAI SDKs
Because AIsa is OpenAI-compatible, you can reuse existing OpenAI SDKs with minimal changes.
Python Example
from openai import OpenAI

client = OpenAI(
    api_key="<token>",
    base_url="https://api.aisa.one/v1"
)

response = client.chat.completions.create(
    model="gpt-4.1",
    messages=[
        {"role": "user", "content": "Explain what an AI gateway is in one sentence."}
    ],
    stream=False,
    logprobs=True,
    top_logprobs=5
)

print(response.choices[0].message.content)
TypeScript Example
import OpenAI from "openai";

const client = new OpenAI({
  apiKey: process.env.AISA_API_KEY,
  baseURL: "https://api.aisa.one/v1",
});

const response = await client.chat.completions.create({
  model: "gpt-4.1",
  messages: [
    { role: "user", content: "Explain what an AI gateway is in one sentence." }
  ],
  stream: false,
  logprobs: true,
  top_logprobs: 5,
});

console.log(response.choices[0].message.content);
Step 5: Test with the API Playground
AIsa provides an in-browser API Playground to:
- Try different models using your $5 free credits
- Adjust parameters such as temperature, max tokens, and top-p
- Inspect raw requests and responses
- Validate outputs before integrating into production
This is the fastest way to compare models without writing code or creating an API key.
Updated 22 days ago